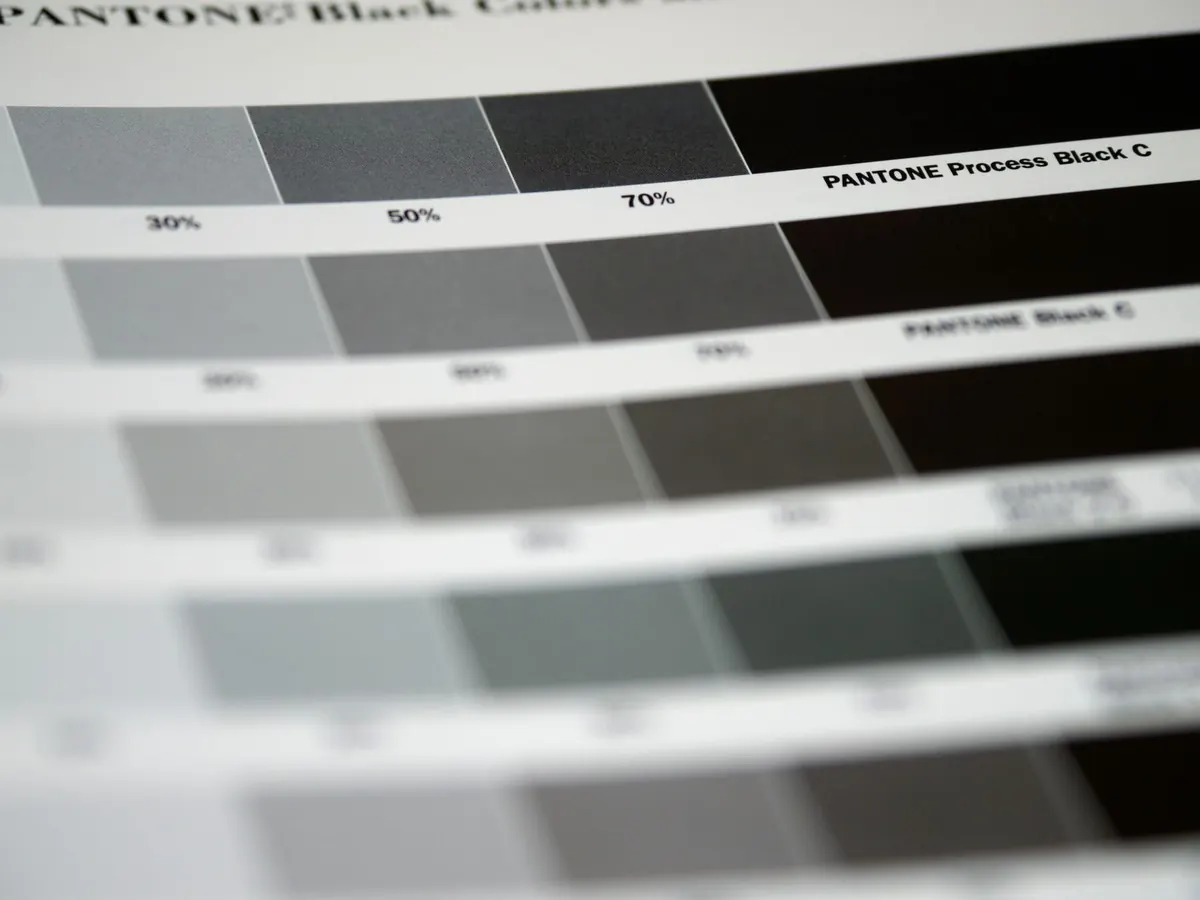
A new bottle of ink is hard to resist. You uncap it, fill a pen, write three lines in your journal, and decide on the spot that it is a favourite. Then, a week later, you notice the feathered edges on cheap paper, or the shading you admired has turned into a grey smear under a highlighter. None of that is the ink's fault, exactly. It is just that you tested it by accident rather than on purpose.
A swatch card fixes that. It takes about twenty minutes and a few scraps of paper, and it gives you a record you will still be reading in five years. Here is a method that holds up.
The entire value of a swatch card is comparison. If two cards are made with different nibs, on different paper, on days with different humidity, they tell you nothing about each other. So decide the conditions once and keep them.
Label in pencil or a neutral pen rather than the ink itself. Very pale inks are impossible to read back, and if you are testing water resistance you do not want the ink's own name to be the thing that runs.
Write the brand, ink name and date along the top of the card, then note the paper and nib. Now build the swatch itself. A single line tells you the colour; a range of marks tells you what the ink can do.
One warning: judge the colour when it is dry. Plenty of inks look brighter or bluer wet, and some shift noticeably within a minute. Sheen is the same story — it tends to appear only once the ink has settled, and often only on smooth, coated papers.
Write a short word, start the stopwatch, then touch the line lightly with a fingertip at five, ten, fifteen, twenty and thirty seconds, then at one, two and five minutes. The first touch that leaves no ink on your skin is your dry time. Record it as a number, not a feeling.
Be honest about the conditions. A wet broad nib on absorbent paper can dry in seconds; the same ink from a fine nib on coated paper may still smudge after a minute. Humidity and the amount of ink pooled on the page matter as much as the ink does. Test on both papers and write both figures down. Never compare a dry time from one card with a dry time from another unless the paper and nib match.
Let the card dry properly — an hour at the very least, ideally overnight. Testing a wet swatch proves nothing except that ink is wet.
Water-resistant inks are often pigment-based or iron gall, and they need a little more care in a pen: do not let them dry out in the nib, and clean your pen more frequently than you would with a simple dye ink. If a pen has been sitting unused, flush it before refilling.
This is where the card earns its keep. Alongside the swatch, note the following, keeping the wording short enough that you will actually bother.
Keep a cheap-paper sample of every ink you genuinely use. That is where disappointment usually strikes, and a two-line scribble on a supermarket notebook tells you more about daily use than a perfect patch on premium paper.
Testing on a paper you never write on. Judging colour from a wet patch. Swapping nibs halfway through a batch of cards. Testing water resistance too early, when everything runs. And leaving out the paper name, which is the detail you will most want in two years' time.
None of these are difficult to avoid, but all of them quietly turn a reference tool into decoration.
Keep the cards in one place — a ring binder or a small index box — and file them as you make them rather than leaving a pile to sort later. Glance back at old ones after a few months; you will notice which inks faded and which held their colour, and that is information no shop listing can give you.
When you finally fill a pen with the ink, add a short note to the card: which pen, how it felt after a week of real writing, and whether you would buy it again. That last line, scribbled in pencil at the bottom of a card, is often the most useful thing on it. The swatch is not meant to be pretty. It is meant to save you from buying the same disappointing brown twice.
Photo: Brett Jordan / Pexels
A practical, printable checklist for a journalling weekend away, covering notebooks, pens, ink, washi tape and the...

Grain direction decides whether paper folds cleanly or cracks, tears straight or ragged, and whether a bound book...
Hardcover and softcover journals compared on construction, durability, portability and writing comfort, with...

A journal for paper, ink, and craft.
